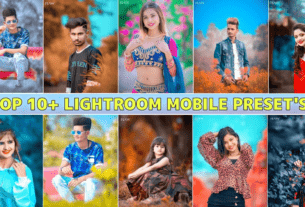
Top 10 Lightroom Dng Presets – Friends, who does not like to edit photos with the Lightroom app. Everyone likes to edit photos with Lightroom. Lightroom app is very popular because of Lightroom presets. This is because we can create any video in a very short time using templates in video editing apps like vn, capcut. Similarly, we can edit our photos in one click with the help of presets in Lightroom app. You won’t believe it, I am an editor. I teach people how to edit photos and make different types of videos related to photo editing. And everyone talks to me about Lightroom presets, brother give me Lightroom presets, give me Lightroom presets. With the help of preset, any photo can be edited in one click in the Lightroom app. But it depends on what type of Lightroom preset you are using for photo editing.
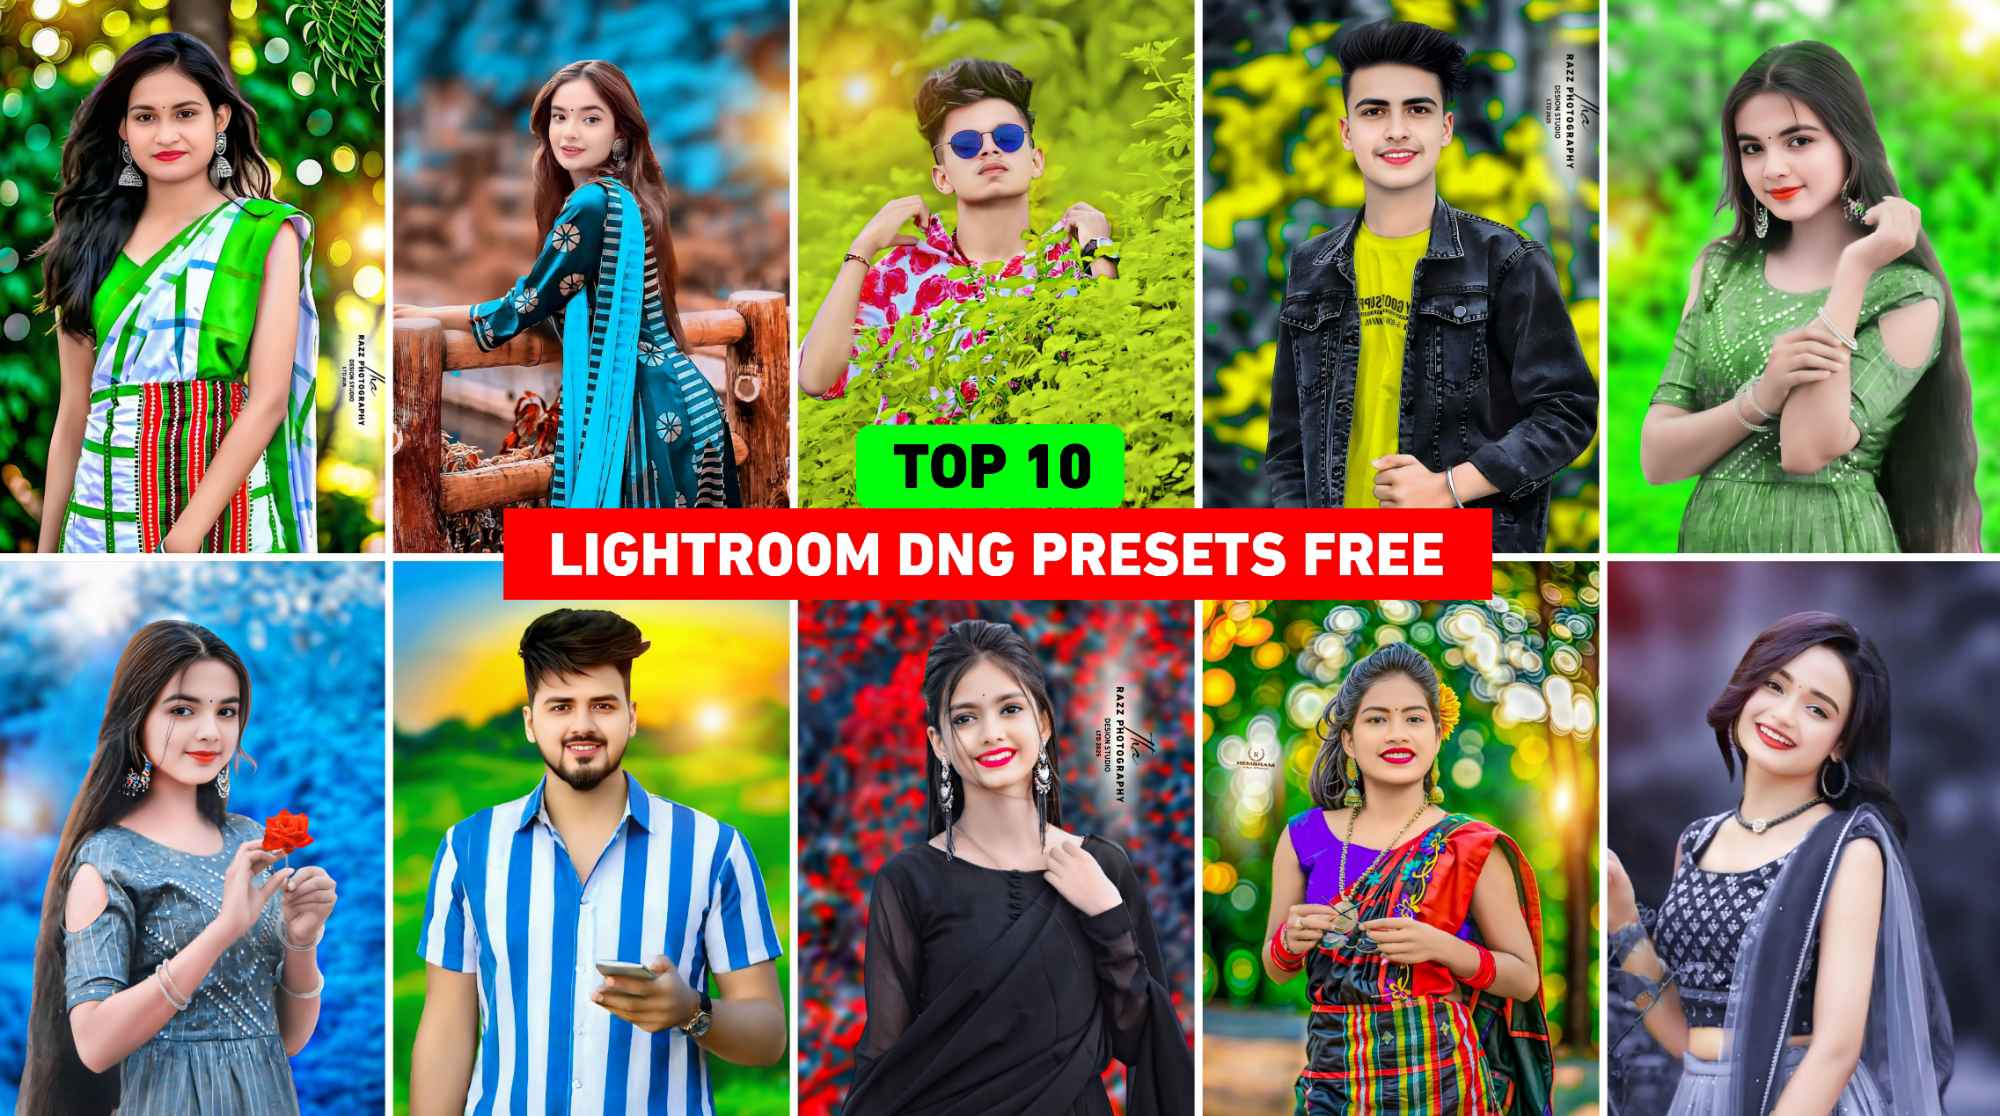
Keeping all these things in mind, in this new article I am providing you the top 10 dng presets for photo editing with the help of presets from the Lightroom app. In which you will get to see dng presets with different colors. You will get all the presets together. You can easily edit your photo in one click by taking the preset of the color in which you want to edit the photo.
Top 10 Lightroom Dng Preset
In top 10 lightroom dng presets we will provide you all the lightroom app presets that a user needs for photo editing. In this you will find many such presets like Biker Lightroom presets, 16k editing preset, nagpuri preset, santali preset, dual colour preset, face smooth preset etc. To do any photo editing, all these Lightroom presets are definitely used. That is why we are making all these presets available. All these presets are DNG as I told you, so you have to edit it by copying its settings in the Lightroom app and pasting its settings on your photo. You won’t believe it. If you use any of these presets for editing your photos in the Lightroom app, you will be amazed at how well your photos will be edited in just one click. Using the face smooth preset in it, you can make your face smooth and white.

About Lightroom Dng Preset
Dng presets of Lightroom app are a very powerful tool for photo editing. Which is often helpful for Lightroom mobile users. The full form of DNG is Digital Negative. Adobe developed this image file format. Lightroom provides DNG presets to help users edit photos instantly with just one click.. This is because it is very easy to use dng presets in Lightroom. We just have to copy the settings of the preset and apply its settings to our photo and edit it. This is an edited photo in which we have already adjusted all the settings like light, brightness, contrast, saturation, and color.
How To Use Top 10 Lightroom Dng Presets
What is the work of dng preset in Lightroom or what is dng preset. We have told you this. Now let us tell you whatever we have told you in this article about the top 10 dng presets for editing photos with the Lightroom app. When you get it, how can you use it in the Lightroom app or how can you edit the photo using any dng preset in the Lightroom app. This is what I am telling in this paragraph.
- First of all download top 10 dng presets which we have given you.
- Now open the Lightroom app on your device.
- After opening the app, click on the Add Photo tool at the bottom.
- Select the raw file by clicking on the three dots in the right corner.
- Now select your preset whichever you have downloaded.
- Similarly, add your photo by selecting jpg file instead of raw.
- Click on the preset and copy its settings with the help of three dots.
- After copying the settings, open your photo, tap the three dots, and paste the settings in the same way.
- Now your photo will be edited according to the preset.
- You can save the photo by clicking on three dots and using save to copy on the device.
Download Top 10 Lightroom Dng Presets
We have told you how to use any dng preset or dng preset in Lightroom. Now we will tell you this. In this article, we have told you about the top 10 dng Lightroom presets. How can you save them in your device for photo editing. Click the All Preset’ button at the end of this paragraph to save all the presets to your device. Google Drive will open. Now you have to choose the preset that you want to take. You can easily save your preset by clicking on it and clicking on the download icon above. Read the caption below for more information.

- Tap on red colour button
- select these presets and import to Lightroom versatile
- ope lightroom
- open these presets in lightroom
- from choice, menu decide to duplicate settings
- presently open your photograph in lightroom
- from choice, menu pick glue setting
How To Make Photo HD with Lightroom App?
To make any photo HD (High Definition) i.e. clear, sharp and high-quality using Lightroom, you will have to choose the effect tool available in Lightroom. To begin with, Many tools are provided in the effect tool to make the photo HD. By using these tools, you can easily enhance the quality of your photo. Furthermore, let’s explore what these tools are and how you can use them effectively.
1. Details Tool – In the detail tool, you will get tools named Sharpening, Noise, Colour Noise, which you can use according to your image and convert the photo into HD.
2. Effect Tool – You will find three types of editing tools in the effect tool: texture, clarity, dehaze. All these tools can be used to make the photo HD and the background HDR.
3. Curves Tool – Keep the Curve tool at Medium contrast. This enhances highlights and shadows, giving an HD feel.
Conclusion
In the end, I would like to say just this much. We have given you more than 10 dng presets in this article for editing photos with the Lightroom app. Using which you can edit any photo in just one click. In this we have provided you all the presets which a photo editor needs for editing. Not only this, it is also told how to convert photos to HD using Lightroom app. If even after knowing all this, you are not able to edit photos using Lightroom app, then do tell us about your problem in the comment box. I will definitely try to solve your problem.